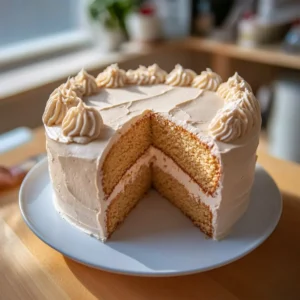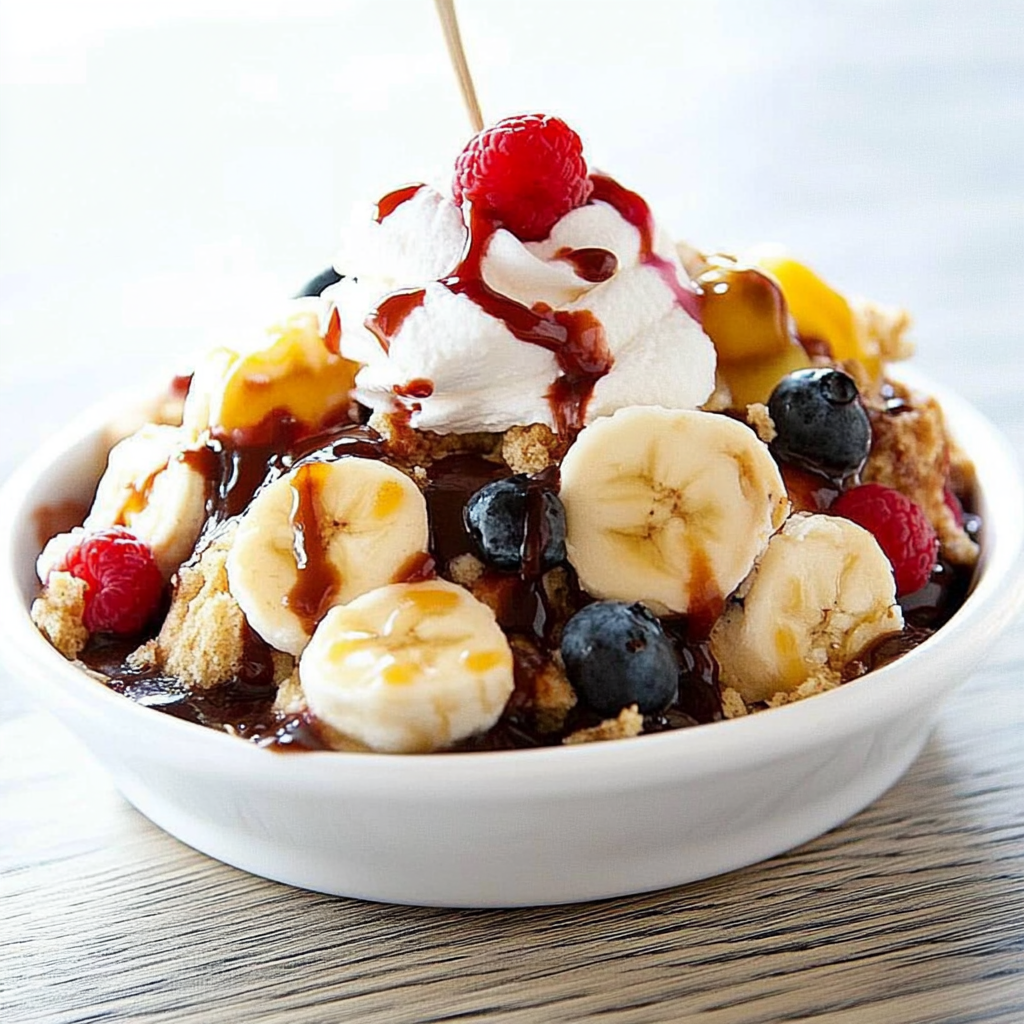
When you think of desserts that scream “party,” a Banana Split Dump Cake immediately comes to mind. Picture this: layers of rich chocolate, sweet bananas, and creamy vanilla all melded together in a deliciously gooey concoction that dances on your taste buds. cozy comfort food alternative This dessert is not just a treat; it’s an experience, perfect for family gatherings or casual hangouts with friends. The aroma wafting through your kitchen will have everyone waiting impatiently as it bakes, hearts racing in anticipation.
This delightful dessert brings back memories of summer picnics and childhood birthdays, where the mere mention of banana splits made all the kids cheer. With a simple assembly process and minimal fuss, you’re set for an unforgettable flavor journey that captures childhood joy in every bite. perfect summer dessert pairing Trust me; once you take your first spoonful, you’ll be hooked on the blissful combination of textures and flavors.
[info_box title=”Why You’ll Love This Recipe”] This Banana Split Dump Cake offers a fun twist on classic desserts while being incredibly easy to prepare. It combines vibrant flavors and colors, making it visually appealing for any occasion. Perfect for potlucks, BBQs, or simply satisfying your sweet tooth at home! [/info_box]
My best friend once declared this dessert her “life-changing moment” at a summer barbecue last year, and I couldn’t agree more!
Essential Ingredients
Here’s what you’ll need to make this delicious dish:
-
Ripe Bananas: Choose bananas that are perfectly ripe for maximum sweetness and creaminess in the cake.
-
Chocolate Cake Mix: A simple mix makes this recipe quick and easy while ensuring rich chocolate flavor.
-
Pineapple Chunks: Use canned pineapple chunks for added sweetness and tropical flair; drain well before use.
-
Chopped Nuts: Walnuts or pecans add crunch; feel free to skip if you’re nut-free or not a fan.
-
Whipped Topping: Light and fluffy, this topping embodies the essence of traditional banana splits—don’t skimp!
For the drizzle:
-
Chocolate Syrup: Drizzle generously over the top for that extra indulgence; who can resist chocolate?
-
Maraschino Cherries: These bright red cherries are the finishing touch that makes everything feel festive!
The full ingredients list, including measurements, is provided in the recipe card directly below.
Let’s Make it together
First things first: Preheat your oven to 350°F (175°C). Grab a 9×13-inch baking dish and lightly spray it with nonstick cooking spray. savory side dish option This will keep our Banana Split Dump Cake from sticking like an unwanted guest!
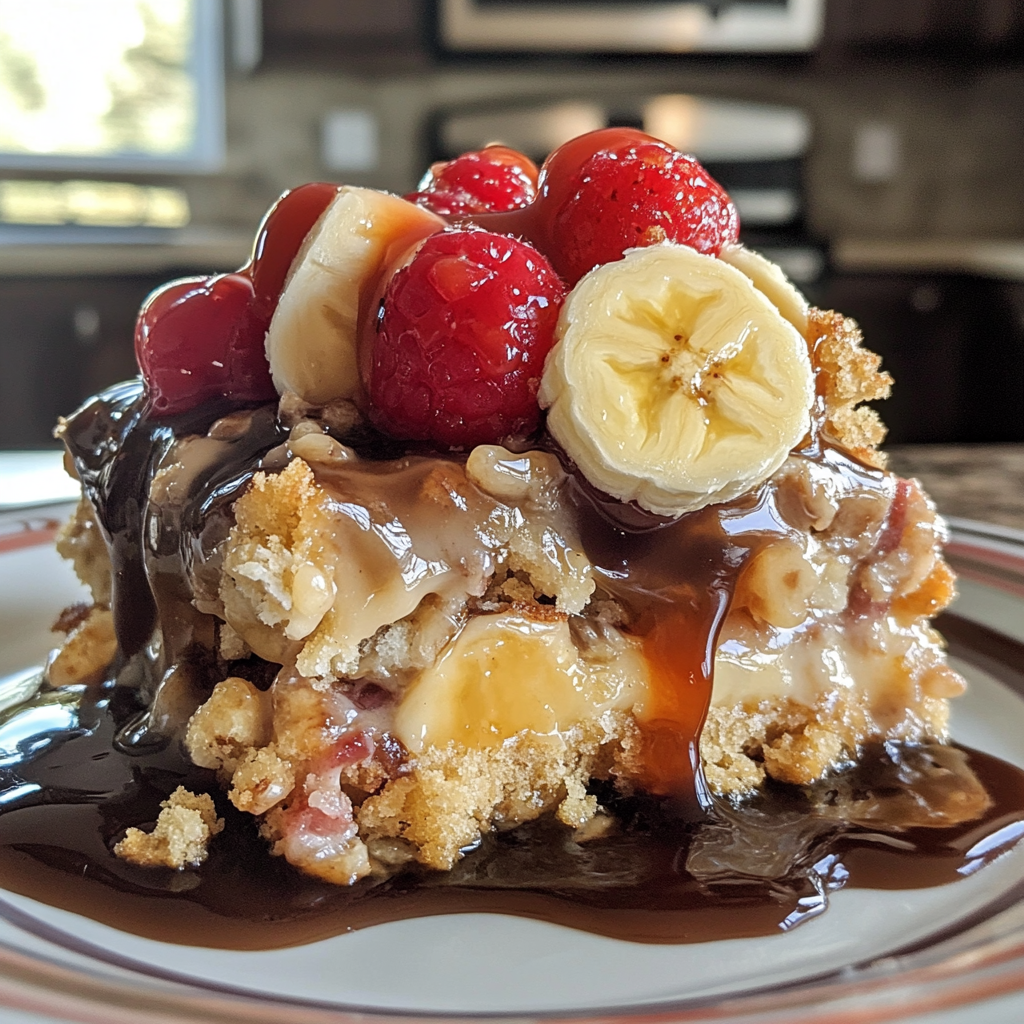
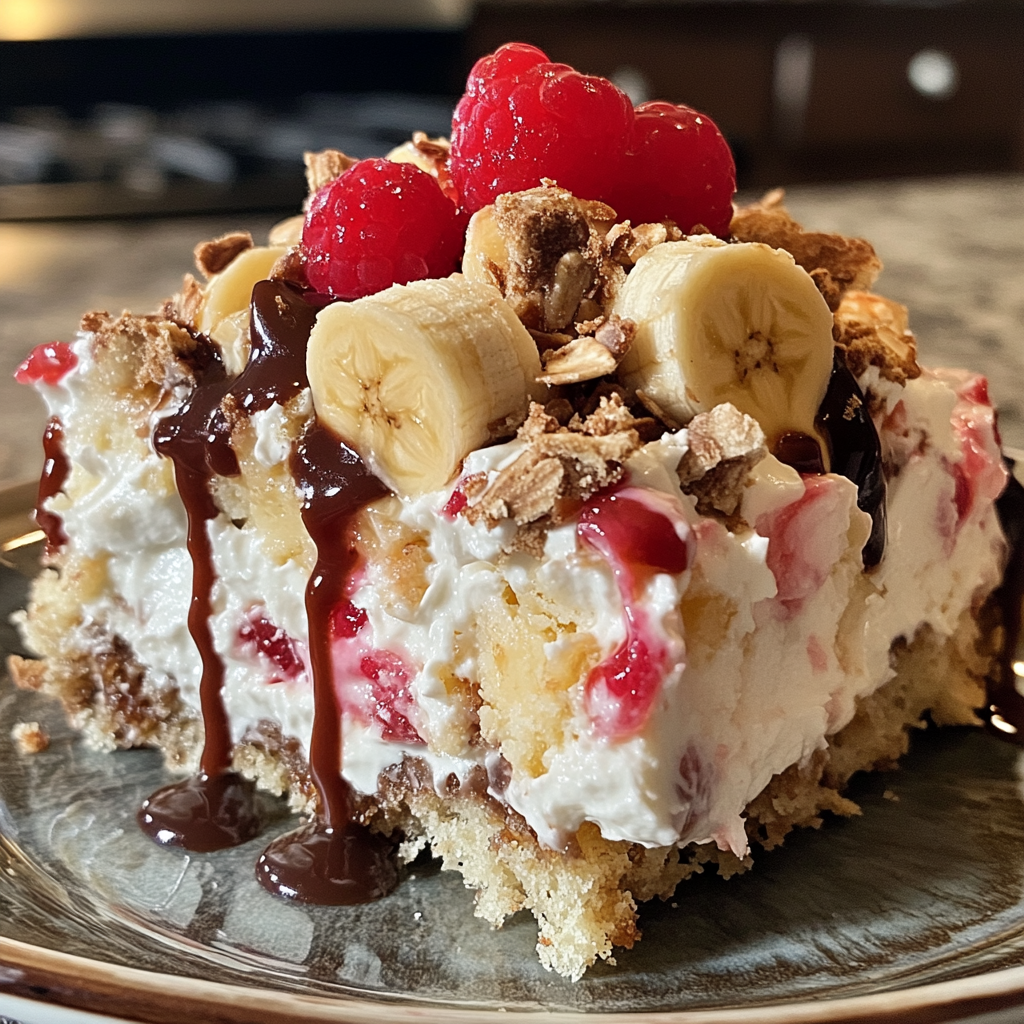
Next: In your prepared baking dish, pour out the chocolate cake mix evenly across the bottom. Don’t worry about stirring; we’re going for layers here. The cake mix should look like soft brown sand on a beach—just waiting to be topped with deliciousness. For more inspiration, check out this brownie bottom mini cheesecakes recipe.
Now: Layer on those luscious banana slices next! Spread them out evenly so every bite has that sweet fruit flavor mingling with chocolate goodness. You should hear faint gasps of delight as you work your magic!
Then: Pour the drained pineapple chunks over the bananas—this adds moisture and a delightful zing! Sprinkle those chopped nuts liberally on top because we all love a little crunch in our dessert.
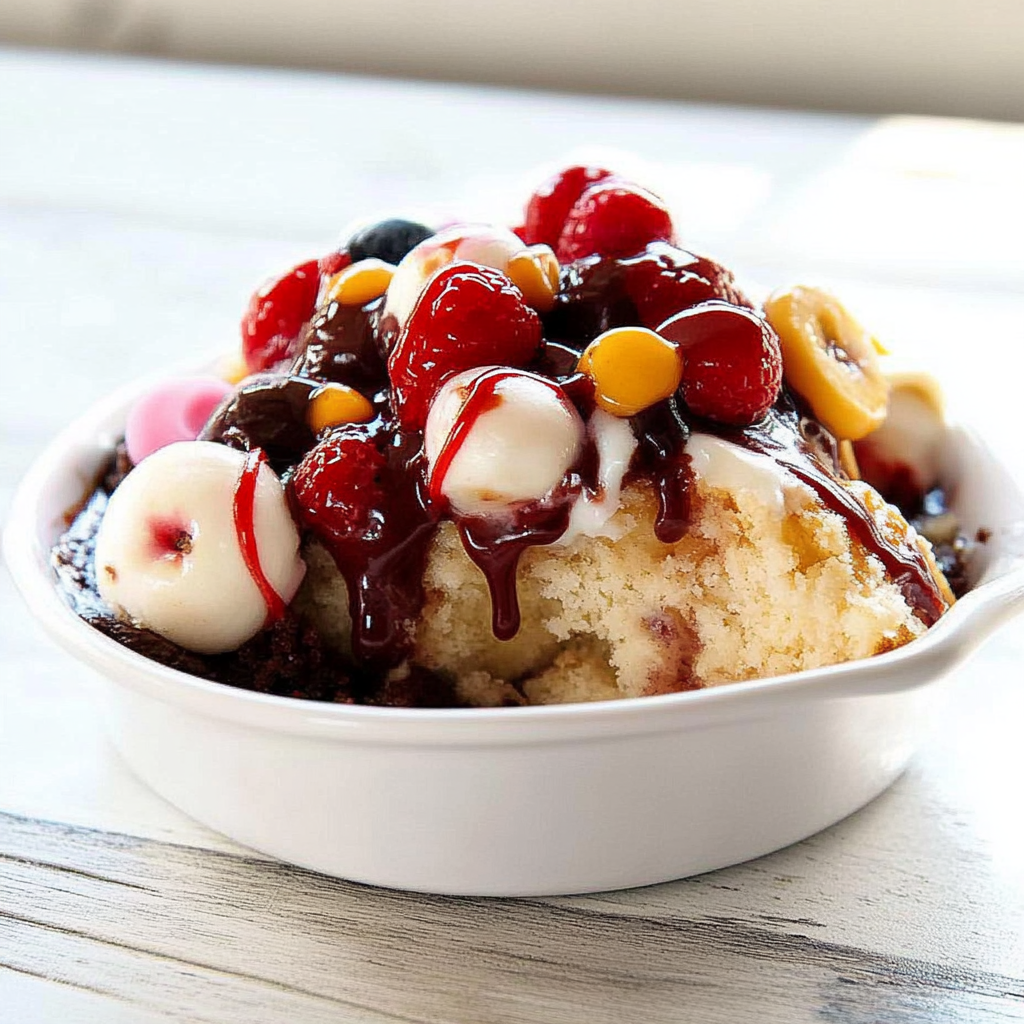
Finally: Carefully drizzle whipped topping over everything like you’re creating beautiful clouds on top of your masterpiece. Finish off with swirls of chocolate syrup and a sprinkle of maraschino cherries. Pop this beauty into the oven for about 45-50 minutes until it’s all bubbly and golden brown on top.
Let it cool slightly before serving so you don’t burn your tongue off! You’ll want to scoop generous portions into bowls because trust me—everyone will be coming back for seconds!
Celebrate with laughter as you dig into each mouthful filled with nostalgia. This Banana Split Dump Cake is more than just dessert; it’s pure joy served in a bowl! For more inspiration, check out this caramel toffee crunch cake recipe.
[info_box title=”You Must Know”] This delightful Banana Split Dump Cake is not only easy to make but also a fun twist on a classic dessert. The combination of flavors and textures will have everyone asking for seconds. Plus, the aroma wafting from your oven will make your neighbors jealous! [/info_box]
Perfecting the Cooking Process
Start by preheating your oven to 350°F and greasing your baking dish. Layer ingredients in the correct order for optimal flavor melding, then bake until bubbly and golden.
Add Your Touch
Feel free to swap bananas for strawberries or add chocolate chips for extra indulgence. A sprinkle of nuts can also enhance the crunch factor.
Storing & Reheating
Store any leftovers in an airtight container in the fridge. Reheat in the microwave for about 20 seconds or in the oven at 350°F until warm.
[info_box title=”Chef’s Helpful Tips”] Use ripe bananas for natural sweetness and optimal flavor. Don’t skip the layering; it’s essential for even baking. Serve with whipped cream to elevate this delicious dessert experience! [/info_box]
I remember the first time I made this Banana Split Dump Cake for a family gathering. Everyone devoured it, and my aunt asked if I had hidden a secret ingredient—little did she know it was just love (and lots of banana goodness)! fun party appetizer option.
FAQ
Can I use other fruits in Banana Split Dump Cake?
Yes, feel free to experiment with berries or other favorite fruits for variety.
How long does Banana Split Dump Cake last in the fridge?
It typically lasts three to four days when stored properly in an airtight container.
Can I make this dessert ahead of time?
Absolutely! Assemble it beforehand and bake right before serving to enjoy fresh flavors.

Banana Split Dump Cake
Indulge in the ultimate dessert experience with this Banana Split Dump Cake, where layers of rich chocolate cake, sweet bananas, and creamy vanilla combine to create a nostalgic treat that’s sure to impress. Perfect for family gatherings or casual hangouts with friends, this easy-to-make dessert captures the joy of summer picnics and childhood birthdays. With minimal fuss and maximum flavor, it’s a guaranteed crowd-pleaser that will have everyone coming back for seconds!
- Total Time: 1 hour 5 minutes
- Yield: Serves approximately 12 1x
Ingredients
- 1 box chocolate cake mix
- 3 ripe bananas, sliced
- 1 can (20 oz) pineapple chunks, drained
- 1 cup chopped walnuts or pecans (optional)
- 1 cup whipped topping
- Chocolate syrup (for drizzling)
- Maraschino cherries (for garnish)
Instructions
- Preheat your oven to 350°F (175°C) and grease a 9×13-inch baking dish.
- Evenly spread the chocolate cake mix across the bottom of the dish.
- Layer the banana slices on top of the cake mix.
- Pour the drained pineapple chunks over the bananas, followed by sprinkling chopped nuts if using.
- Drizzle whipped topping over the layers, then finish with chocolate syrup and maraschino cherries.
- Bake in the preheated oven for 45-50 minutes until bubbly and golden brown.
- Allow to cool slightly before serving.
- Prep Time: 15 minutes
- Cook Time: 50 minutes
- Category: Dessert
- Method: Baking
- Cuisine: American
Nutrition
- Serving Size: 1 slice (approximately 120g)
- Calories: 350
- Sugar: 30g
- Sodium: 250mg
- Fat: 14g
- Saturated Fat: 3g
- Unsaturated Fat: 9g
- Trans Fat: 0g
- Carbohydrates: 50g
- Fiber: 2g
- Protein: 3g
- Cholesterol: 10mg
Keywords: For added variety, consider swapping bananas for strawberries or adding chocolate chips to enhance flavor. Leftovers can be stored in an airtight container in the fridge for up to four days; reheat as desired.