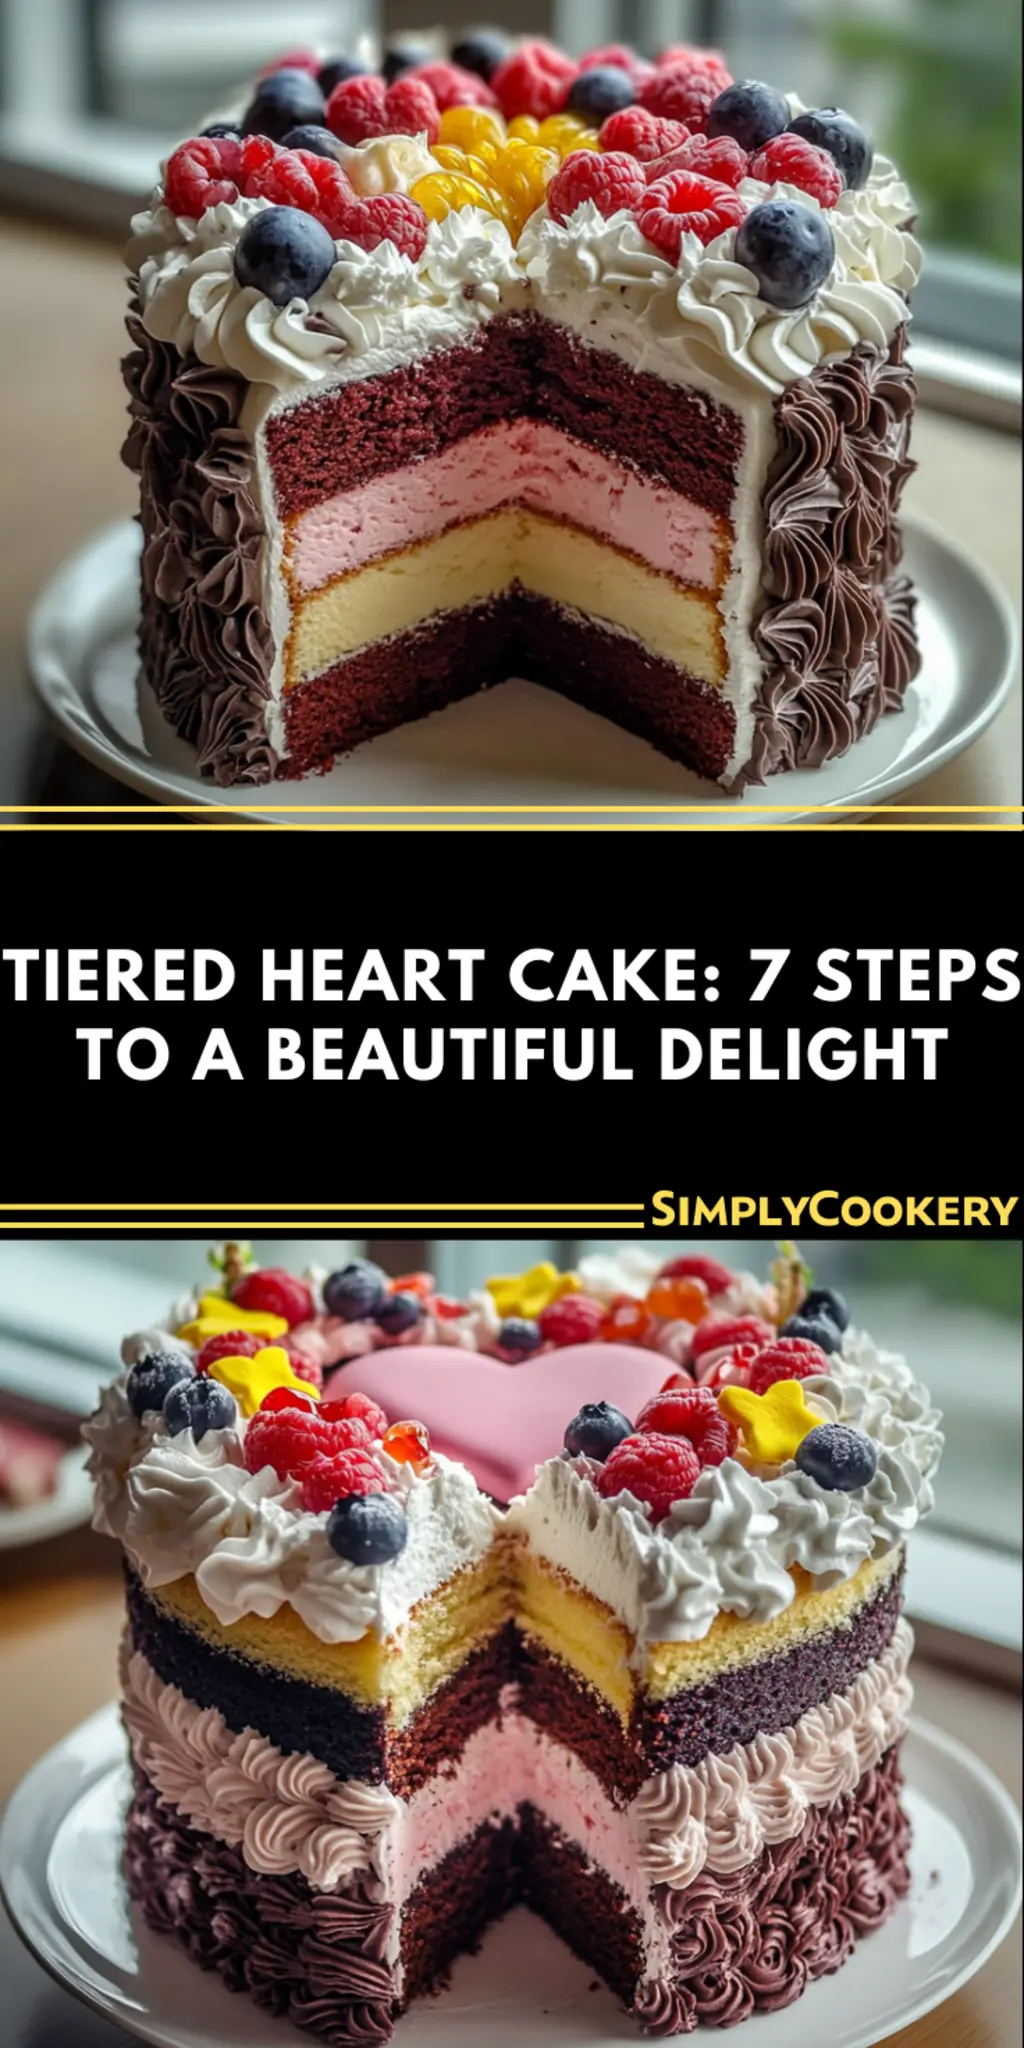
There’s an unmistakable joy that fills a home when the sweet scent of freshly baked cake wafts through the air. Imagine the delight on your loved ones’ faces as they gather around a stunning Tiered Heart Cake, lovingly crafted by your hands. I found myself knee-deep in flour one rainy afternoon, craving something festive and delicious, and that’s how this beautiful delight was born.
Perfect for celebrations or a simple Saturday treat, this cake not only looks impressive but also features layers of rich flavor. Each bite is a lovely balance of cocoa and sweetness, bolstered by a silky whipped cream frosting that pairs perfectly with the chocolatey layers. Best of all, it’s simple enough to whip up on a whim, making it an excellent alternative to those mundane takeout options that often find their way to our tables. Ready to impress? Let’s dive into the 7 easy steps to create your own Tiered Heart Cake!
Why is Tiered Heart Cake a must-try?
Indulge in a dessert that truly shines! This Tiered Heart Cake is not only visually stunning but also bursting with delicious flavors.
- Effortless elegance: Impress your guests with this beautiful treat, perfect for any occasion.
- Delightful layers: Experience the rich, chocolatey goodness contrasting with light, fluffy frosting.
- Quick prep: With just 20 minutes of prep time, you can have a masterpiece ready to show off!
- Heartfelt appeal: Ideal for celebrations or surprises, this cake is sure to bring smiles to your loved ones.
Your next baking adventure awaits with this scrumptious recipe!
Tiered Heart Cake Ingredients
For the Cake Layers
- All-purpose flour – essential for structure, giving the cake its fluffy texture.
- Sugar – sweetens the cake beautifully; use brown sugar for an extra depth of flavor.
- Unsalted butter – ensures better control over the saltiness; room temperature is best for creaming.
- Large eggs – act as a binding agent; always use fresh eggs for the best results.
- Milk – adds moisture and richness; substitute with almond milk for a dairy-free version.
- Baking powder – provides leavening; double-check its freshness for optimal rise.
- Vanilla extract – enhances all flavors; pure vanilla works wonders compared to imitation.
- Cocoa powder – gives the cake its delightful chocolate flavor; Dutch-processed cocoa can deepen the taste.
For the Frosting
- Powdered sugar – creates a smooth frosting; sift to avoid lumps for a lovely finish.
- Heavy cream – whips up beautifully for a decadent frosting; use cold cream for better results.
This Tiered Heart Cake is a lovely way to bring a touch of romance and delight to your baking repertoire!
How to Make Tiered Heart Cake
-
Preheat your oven to 350°F (175°C) to ensure an even bake. Gather your ingredients while the oven heats up, so you’ll save time later!
-
Grease and flour two heart-shaped cake pans, ensuring an easy release for your baked layers; this makes it simpler to create that beautiful tiered effect.
-
Cream together the softened unsalted butter and sugar in a mixing bowl until light and fluffy. This step is essential for incorporating air, which leads to a lovely, soft texture in your cake.
-
Add each large egg one at a time, ensuring they mix well after each addition. This helps create a smooth mixture, resulting in a wonderfully moist cake.
-
Stir in the milk and vanilla extract until well blended. The milk will add moisture and richness, while the vanilla enhances the cake’s overall flavor.
-
Combine the flour, baking powder, and cocoa powder in a separate bowl. Gradually add these dry ingredients to the wet mixture, mixing until just combined for a light and airy cake.
-
Pour the batter into the prepared pans and bake for 30-35 minutes or until a toothpick comes out clean. This is when the magic happens, and your kitchen will be filled with a heavenly aroma!
-
Cool the cakes completely in the pans before transferring them to a wire rack. This ensures you can frost without melting any layers.
-
Whip the heavy cream until soft peaks form, then gently mix in powdered sugar to create a luscious frosting. This frosting is divine and adds a creamy touch to your cake!
-
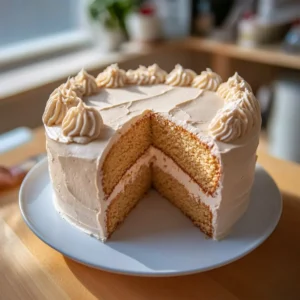
Frost the top of one layer, stacking the other on top before frosting the top and sides of the cake. Smooth out the frosting for that perfect, polished finish.
Optional: Decorate with chocolate shavings or fresh berries for a delightful presentation!
Exact quantities are listed in the recipe card below.
Make Ahead Options
These Tiered Heart Cakes are perfect for meal prep enthusiasts looking to save time during busy weeks! You can prepare the cake layers up to 2 days in advance; simply bake, allow them to cool completely, and then wrap them tightly in plastic wrap before refrigerating to maintain moisture. The frosting can also be made 1 day ahead; store it in an airtight container in the fridge to keep it fresh. When you’re ready to serve, simply remove the cakes from the fridge, frost them, and let them sit at room temperature for about 30 minutes to bring out their flavors. This way, your delicious Tiered Heart Cake will be just as delightful and fresh as if you made it from scratch that day!
What to Serve with Tiered Heart Cake?
Imagine delighting your loved ones with a charming spread that complements the sweet richness of your heart-shaped creation.
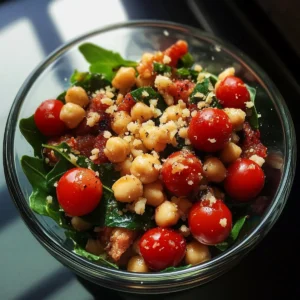
- Fresh Berries: Bright and juicy, berries like strawberries or raspberries add a hint of tartness that balances the cake’s sweetness perfectly.
- Vanilla Ice Cream: A scoop of creamy vanilla ice cream alongside enhances the cake’s chocolate notes while adding a delightful cold contrast.
- Whipped Cream: Serve extra whipped cream on the side for an indulgent addition that mirrors the cake’s frosting, making each slice a treat.
- Chocolate Ganache: Drizzling warm chocolate ganache brings an extra layer of richness that chocolate lovers will adore, taking the cake to new heights.
- Mint Sprigs: The refreshing coolness of mint not only garnishes the plate beautifully but also cleanses the palate between bites—perfect for those who appreciate a refreshing touch.
- Coffee or Espresso: A cup of freshly brewed coffee or espresso pairs wonderfully with the rich flavors of the cake, providing a warm contrast that’s simply irresistible.
- Sparkling Water with Lime: A crisp, sparkling water with a splash of lime adds a refreshing element to the meal, cleansing the palate and enhancing the dessert experience.
These delightful pairings will ensure your Tiered Heart Cake is the star of the show, making every celebration even more memorable!
Tiered Heart Cake Variations
Feel free to play around and make this cake your own with these delightful options!
-
Gluten-Free: Substitute all-purpose flour with a 1:1 gluten-free flour blend for a cake that everyone can enjoy.
-
Dairy-Free: Use coconut oil instead of butter and almond milk in place of regular milk for a luscious, dairy-free treat.
-
Flavor Fusions: Add a swirl of raspberry or strawberry jam between the layers for a fruity burst with each bite—it’s an unexpected delight!
-
Extra Chocolatey: Sprinkle in chocolate chips or chunks into the batter before baking for added texture and indulgence.
-
Nutty Crunch: Fold in chopped walnuts or pecans for a delightful crunch that beautifully complements the cake’s softness.
-
Citrus Zest: Add the zest of an orange or lemon into your batter for a refreshing twist that cuts through the sweetness.
-
Spice It Up: Incorporate a teaspoon of cinnamon or a dash of cayenne pepper into the batter for warmth and a little surprise kick!
-
Frosting Alternatives: Try using cream cheese instead of heavy cream for a tangier frosting that pairs wonderfully with the cake’s richness.
These variations will not only elevate your baking game but also cater to diverse tastes and dietary preferences!
Expert Tips for Tiered Heart Cake
-
Room Temperature Ingredients: Make sure your eggs, milk, and butter are at room temperature for better mixing and a softer texture in your Tiered Heart Cake.
-
Accurate Measuring: Use a kitchen scale or proper measuring cups to ensure precise ingredient amounts; too much flour can make the cake dense.
-
Don’t Overmix: Mix the batter just until combined to maintain lightness. Overmixing can lead to a tougher cake texture.
-
Cooling Down: Allow the cakes to cool completely before frosting. This prevents the frosting from melting and ensures clean layers.
-
Frosting Texture: Whip the heavy cream just until soft peaks form; overwhipping can cause it to become grainy. A smooth frosting will elevate the look of your Tiered Heart Cake!
How to Store and Freeze Tiered Heart Cake
- Room Temperature: If you plan to enjoy the cake within 1-2 days, store it in an airtight container at room temperature. This keeps it moist and fresh.
- Fridge: For longer storage, keep the cake in the refrigerator for up to 5 days. Cover the cake with plastic wrap or place it in an airtight container to prevent it from drying out.
- Freezer: You can freeze the Tiered Heart Cake for up to 3 months. Wrap each layer tightly in plastic wrap, followed by aluminum foil, to protect it from freezer burn.
- Reheating: To serve frozen cake, allow it to thaw overnight in the refrigerator. If desired, you can gently warm individual slices in the microwave for a few seconds before serving for a cozy delight!
Tiered Heart Cake Recipe FAQs
How do I choose the right ingredients for my Tiered Heart Cake?
Absolutely! For the best results, make sure to use fresh, high-quality ingredients. Look for eggs with a clean shell and check the expiration date on your milk. For the butter, choose unsalted butter at room temperature for easy creaming. When selecting cocoa powder, opt for Dutch-processed for a richer flavor. Fresh ingredients make a world of difference in the taste and texture of your cake!
How should I store my Tiered Heart Cake after baking?
Very! If you plan to eat the cake within 1-2 days, simply place it in an airtight container at room temperature. This helps retain its moisture. For longer storage, keep the cake in the refrigerator for up to 5 days, tightly covering it with plastic wrap or in an airtight container. This will help to keep the cake fresh and delicious!
Can I freeze my Tiered Heart Cake?
Absolutely! To freeze your cake, wrap each layer tightly in plastic wrap, then cover with aluminum foil. This will protect it from freezer burn for up to 3 months. When you’re ready to enjoy it, thaw the cake overnight in the refrigerator. If you’d like it a bit warm, you can gently microwave individual slices for a few seconds!
What if my cake turns out too dense?
Very understandable! A dense cake can happen if you overmix your batter or use too much flour. Be sure to measure your flour accurately and mix the batter just until combined. Always use room temperature ingredients, as this can help create a lighter texture. If it’s still dense, a little extra whipped cream frosting can work wonders to enhance the overall experience!
Is this recipe suitable for people with allergies?
Definitely! If you’re making the Tiered Heart Cake for someone with a dairy allergy, substitute the milk with almond milk or oat milk. For those with egg allergies, you can try flaxseed meal or applesauce as a substitute (1 tablespoon of flaxseed meal mixed with 2.5 tablespoons of water equals one egg). Just keep in mind that this may slightly change the texture and flavor, but it can still be delicious!

Irresistibly Romantic: Tiered Heart Cake in 7 Easy Steps
Ingredients
Equipment
Method
- Preheat your oven to 350°F (175°C) and gather your ingredients.
- Grease and flour two heart-shaped cake pans for easy release.
- Cream together the softened unsalted butter and sugar until light and fluffy.
- Add each large egg one at a time, mixing well after each addition.
- Stir in the milk and vanilla extract until well blended.
- Combine flour, baking powder, and cocoa powder in a separate bowl. Gradually add to wet mixture.
- Pour batter into prepared pans and bake for 30-35 minutes until a toothpick comes out clean.
- Cool the cakes completely in the pans before transferring them to a wire rack.
- Whip the heavy cream until soft peaks form, then mix in powdered sugar.
- Frost the top of one layer, stack the other on top, then frost the top and sides of the cake.